Prey and Jolla – the English version
As the blogpost Prey en Jolla got some attention from Jolla Mobile and Jolla Pioneers on Facebook I decided to create a translation for the non Dutch readers. Hopefully it’s more useful than a Google translated version.
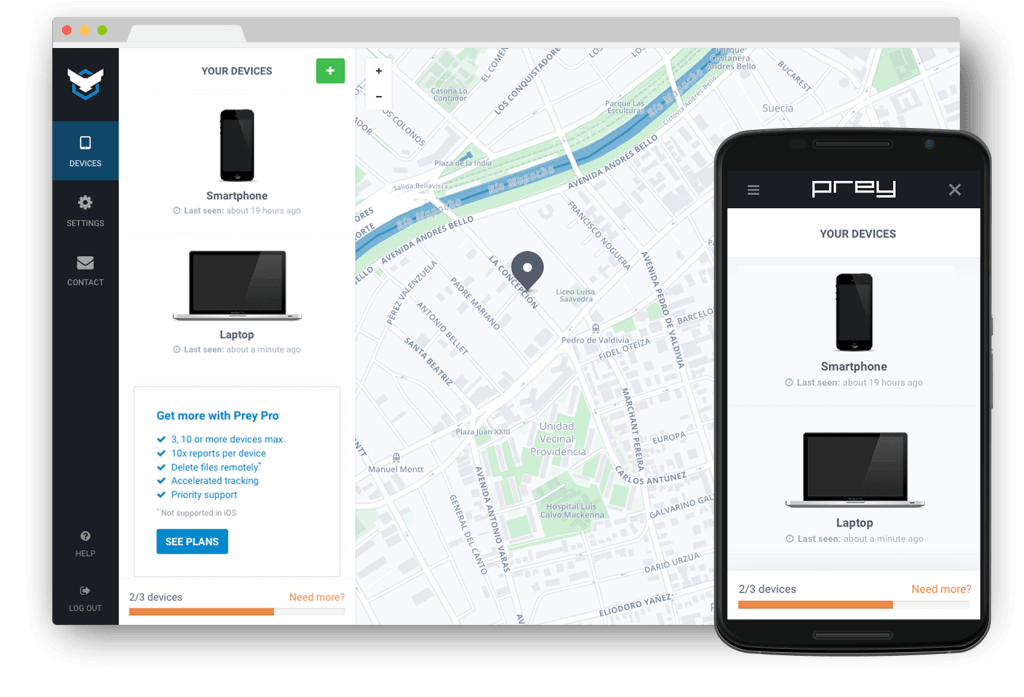
Prey is anti theft software for laptops, phones and tablets. The software helps to trace, block and even wipe the lost or stolen device. The service is available for a wide range of platforms and for Windows, Mac, Ubuntu, Linux in general, iOS and Android official clients are available. These clients are running silently and send their location to Prey.
Jolla is missing in the list, no official client is available. Fortunately, the community has an solution available. Until two SailfishOS updates ago, a simple solution was available, without any UI. For the current SailfishOS versions a new client is being developed in nodejs. Yes, you read it, you can install nodejs on your Jolla.
From the terminal
To install the nodejs-version of Prey, you will need to use the terminal. This is possible on the Jolla, but off course it is also possible to use a ssh connection to your Jolla. That makes typing a lot easier. I prefer this.
But, before we can start we need to do some preparation by installing sudo. This can easily be done via openrepos.net or directly using the Warehouse app. NielDK, also the developer behind Prey for Jolla, has this available in his repo. You can also go for an alternative solution, by installing the mer-tools.
After sudo is in place, it is practical to add the user nemo to the sudoers. Otherwise it is pretty useless.
$ devel-su
$ echo "nemo ALL=(ALL) ALL" >> /etc/sudoers
$ exit
With all the preparations done, let’s start.
$ devel-su
$ npm -g install prey
$ prey config hooks post_install
$ prey config account setup -f
Fill in the correct values when asked:
- yes
- je.prey@mail.adres
- je prey password
$ devel-su
$ sudo -u prey prey config activate
$ exit
$ exit
Start automatically
During the installation a system service has been added to run prey. The service can be started with:
$ devel-su
$ systemctl start prey-agent
But you don’t want to start prey manually each time you start your Jolla. You want this to happen automatically:
$ devel-su
$ systemctl enable prey-agent
Now prey will be started as a service each time your phone is started. The service will automatically send it’s location data to prey. Via https://panel.preyproject.com/app you can see where your Jolla is.
Currently the functionality is rather limited. All you can doe is track where the device is and set it to missing. If you do so, you’ll receive information about the device via mail.
Development is still in progress. For more information and the latest status you can check the topic [WIP] Prey – antitheft system (starting at post #123). The first 122 posts are about the old client.
Many thanks, it’s working. Don’t forget to include nodejs in the prerequisite (https://openrepos.net/content/bruce/nodejs).
It’s mentioned, not specific as prerequisite. Good to know nodejs is also available on openrepos.net. Didn’t know that.
Question: why, after having performed systemctl start prey-agent and systemctl enable prey-agent, is aliendalvik running (although I never started it intentionnally)?
Interesting. I wouldn’t know, didn’t notice it either as I have the Android Whatsapp running. I guess it’s a good idea to contact the developer on this. Could be done over at http://talk.maemo.org/showthread.php?t=92829 or at https://github.com/prey/prey-node-client